How to Put an Electronic Parking Brake in Service Mode Before Changing Rear Pads
How to put an electronic parking brake in service mode before changing rear pads: retract the caliper electronically first, or you risk expensive damage.
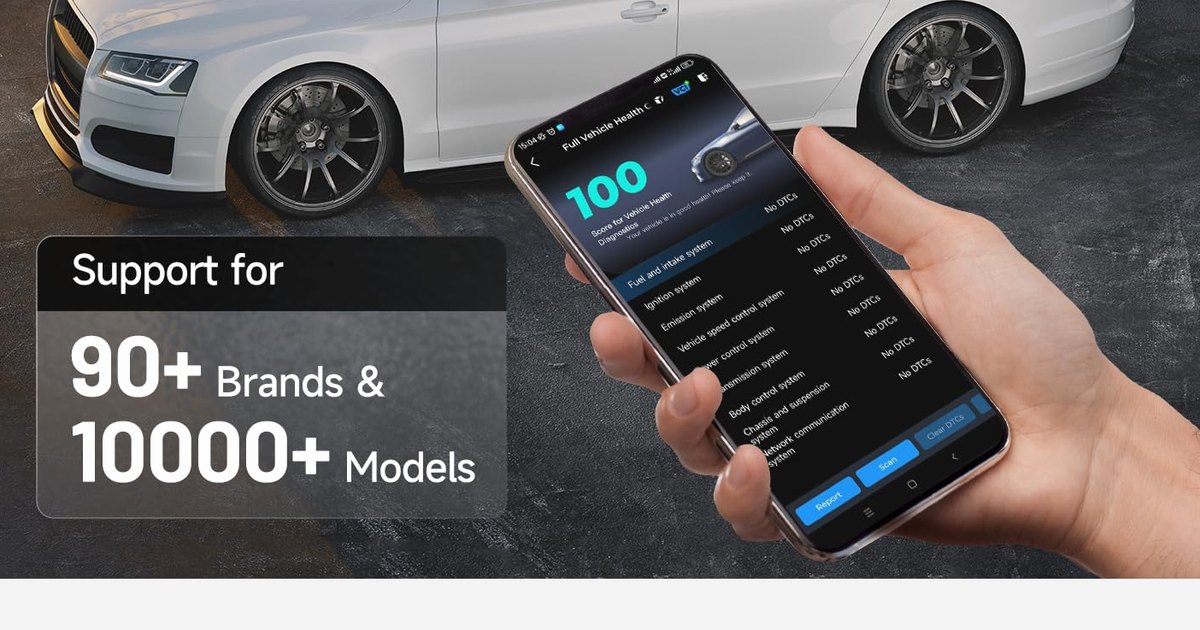
To put an electronic parking brake in service mode before changing rear pads, connect an OBD2 tool with EPB support, select the EPB or brake service function, and choose “open” or “retract” to electronically release the caliper. Only then can you wind the piston back. Forcing it without retracting first can wreck the caliper.
Why you can’t just wind it back
On a conventional rear brake you can wind or push the piston back with a hand tool. An electronic parking brake is different: the caliper has a motor-driven mechanism holding the piston, and it must be electronically relaxed first. Industry guidance is blunt — if you try to wind back an electronic caliper without diagnostically relaxing the mechanism, and then apply force thinking the piston is seized, you can break the caliper. That is an expensive lesson, which is why knowing how to put an electronic parking brake in service mode before changing rear pads matters so much.
Service mode, step by step
The safe sequence, drawing on professional practice:
- Park on level ground, ignition on, and make sure the parking brake is released so the procedure can run.
- Connect an EPB-capable tool to the OBD2 port. A Bluetooth tool such as the TOPDON CarPal lists an EPB service function among its resets on supported cars.
- Select EPB and choose “open” or “retract”. You will hear the motor relax the mechanism. This releases the handbrake mechanism; on many systems it does not physically wind the piston back, but frees it so you can.
- Do the mechanical work. With the mechanism relaxed, wind or push the piston back as the design requires — the tool does not need to stay connected during the physical wind-back.
- Fit the new pads.
- Pump the brake pedal until firm, as with any pad change.
- Reconnect the tool and select “close” or “apply” so the motor takes up the correct force.
- Confirm by pressing the brake and cycling the EPB switch.
Some cars have a manual sequence
A number of models also have a built-in manual service-mode sequence using the ignition, brake pedal and EPB switch. These are model-specific — a Vauxhall Insignia’s steps differ from a VW’s — so consult the handbook or a reliable model guide. Where a manual sequence exists it can work without a tool, but a scanner method is often simpler and less error-prone. Our guide on whether to wind or push the caliper pistons covers the mechanical step in detail.
Watch out for auto-adjustment
Integral EPB systems can be active even with the ignition off, adjusting for pad shrinkage as they cool. Some will automatically adjust if the parking brake has not been applied over a distance. This is why you must use service mode rather than assuming the caliper is inert, and why you should follow the close/apply step precisely so the system knows the job is complete.
After the job
- Cycle the EPB on and off a few times and pump the pedal so the pads seat against the discs.
- Clear any DTCs if the procedure logged codes, which some do.
- Test before driving: confirm the handbrake holds and releases, and that no warning lamp remains — an EPB warning lamp indicating a malfunction is an MOT concern.
Don’t skip the tool on EPB cars
The temptation to save time with a G-clamp on an EPB car is exactly what damages calipers. The cost of a cheap EPB-capable tool is trivial next to a replacement caliper and control-module fault. If you service your own brakes on a car with an electronic handbrake, having a tool that can enter and exit EPB service mode turns a risky job into a routine one.
Common EPB service-mode mistakes
A handful of mistakes cause most of the EPB caliper damage seen in workshops, and all are avoidable. The biggest is skipping service mode entirely and attacking the piston with a G-clamp as if it were a conventional front brake — on an electronic caliper that can break the mechanism. A close second is applying brute force when the piston resists, assuming it is seized, when in fact the motor has not been relaxed or the piston needs winding rather than pushing. Another is forgetting the “close”/”apply” step afterwards, which leaves the parking brake unable to set its proper force and often triggers warning lamps. People also trip up by not releasing the parking brake before starting the procedure, so the tool cannot enter service mode. Finally, working on an integral EPB without appreciating that it can auto-adjust even with the ignition off catches out the unwary. Avoiding these comes down to discipline: release the brake, enter service mode with a tool or the correct manual sequence, wind rather than force the piston, and always close the mechanism and test before driving. Follow that order and an EPB rear pad change is genuinely routine.
Frequently asked questions
Can I change EPB rear pads without a scan tool?
Some cars have a manual service-mode sequence in the handbook, but many need a tool to retract the caliper. Never force the piston back without electronically relaxing the mechanism first, or you risk breaking the caliper.
Does the tool wind the piston back?
Usually not directly. Selecting “open”/”retract” relaxes the mechanism; on most systems you then wind or push the piston back mechanically. Afterwards you reconnect and select “close”/”apply” to set the correct force.
What happens if I forget to close the EPB afterwards?
The handbrake may not work correctly and warning lamps can appear. Always run the close/apply step, pump the pedal, cycle the EPB, and confirm it holds before driving.